SP 2010: Developing with the Word Automation Services in SharePoint Server 2010
Table of Contents
In SharePoint 2010, there is a new Service Application called Word Automation Services. This Service Application is used to convert documents from Word to different formats.
Word Automation Services can open about the same formats as Windows Word 2010 can:
- Filetypes it can open include: .docx, .docm, .dotx, .dotm, .doc, .dot, .rtf, .mht, .mhtml, .xml (Word xml)
- Filetypes it can save as include: .docx, .docm, .dotx, .dotm, .doc, .dot, .rtf, .mht, .mhtml, .xml (Word xml), PDF, XPS
In this article you’ll see an example of how you can utilize the Word Automation Services in order to build a custom solution that takes care of converting documents (as listed above) into PDF documents.
Programmatically work with Word Automation Services in SP 2010
Note: You cannot deploy a solution working with the API’s in the Word Automation Services in the Sandbox. Rather you’ll need to target your application as a Farm Solution.
There’s not really a whole lot to it. Just follow along with these few steps and you’ll be fine!
In the API for Word Automation Services you’ll find a few different ways to convert documents including:
In the following example I’ll demonstrate how to use the AddLibrary() method in order to convert the contents of an entire document library into PDF documents! (Yes, that is way awesome)
- Add the Word Automation Services API reference to your project
The following reference needs to be added to your project:
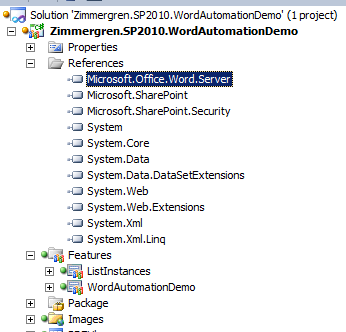
It can be found here:
14ISAPIMicrosoft.Office.Word.Server.dll
- Add the proper using-statements
using Microsoft.Office.Word.Server.Service;
using Microsoft.Office.Word.Server.Conversions;
- Create a job to convert an entire Document Library to PDF’s
First, fetch the WordServiceApplicationProxy object (so we don’t have to hard-code the service app name..). This first line requires the Word Automation Service Application to be added to the default proxy group.
Second, we instantiate a new ConversionJob class and shoots in your WordServiceApplicationProxy as a parameter:
var wordAutomationProxy = (WordServiceApplicationProxy )SPServiceContext .Current.GetDefaultProxy(typeof (WordServiceApplicationProxy ));

var conversionJob = newConversionJob (wordAutomationProxy);
- Next we need to specify a UserToken for the job to tell the job under what credentials to run.
- We also need to specify a name for the job.
- Finally you can add whatever Settings you want for your job, I’ve chosen that I want my files to be output as PDF’s.
conversionJob.UserToken = SPContext .Current.Web.CurrentUser.UserToken;

conversionJob.Name = "Zimmergren.SP2010.WordAutomationDemo Conversion Job";

conversionJob.Settings.OutputFormat = SaveFormat .PDF;
Next we will simply specify a library where the original .doc or .docx files reside and point out the destination library like this, and start the job by adding it to the timer job queue:
conversionJob.AddLibrary(origLib, destinationLib);

conversionJob.Start();
This is the sample code in one snippet
protected void btnConvert_Click(object sender, EventArgs e)
{
    try
    {
        SPList origLib = SPContext .Current.Web.Lists[ddlLibraries.SelectedValue];
        SPList destinationLib = SPContext .Current.Web.Lists["PDFLibrary" ];

        var wordAutomationProxy = (WordServiceApplicationProxy)SPServiceContext .Current.GetDefaultProxy(typeof (WordServiceApplicationProxy ));

        var conversionJob = newConversionJob (wordAutomationProxy);
        conversionJob.UserToken = SPContext .Current.Web.CurrentUser.UserToken;
        conversionJob.Name = "Zimmergren.SP2010.WordAutomationDemo Conversion Job" ;
        conversionJob.Settings.OutputFormat = SaveFormat .PDF;
        conversionJob.AddLibrary(origLib, destinationLib);
        conversionJob.Start();

        Label1.Text = "Conversion job started!" ;
        Label1.Visible = true ;
    }
    catch (Exception ex)
    {
        Label1.Visible = true ;
        Label1.Text = "Error:";
        Label1.Text += ex.Message;
    }
}
So what’s the results?
When you’ve created a new ConversionJob, it’ll be added to the Timer Job schedule to be run by SharePoint. When the job has been run, it can look like this:
Original Document Library, filled with some Word documents:
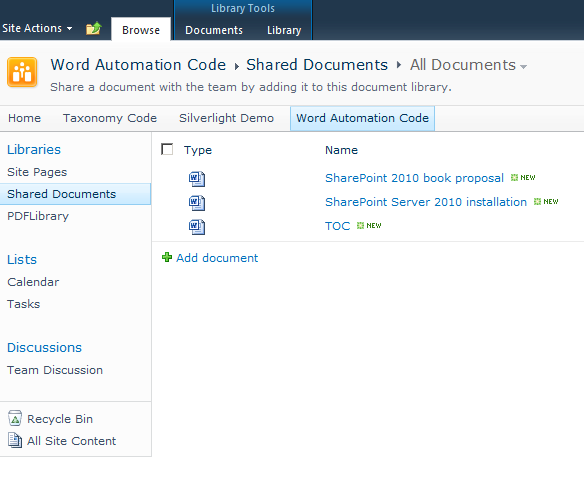
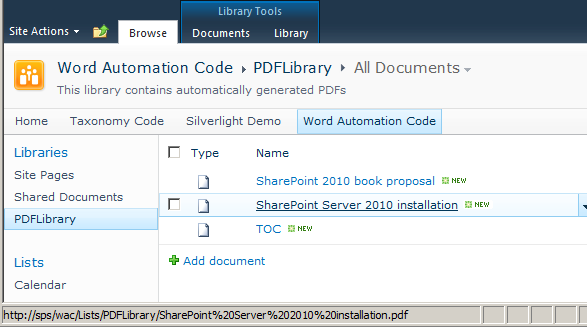
These files will then be converted to PDF’s and put into my PDFLibrary like this:
Summary
To get started with the Word Automation Services, you don’t really need to do a lot of coding. Just specify the references, hook up a reference to your service app and create a new ConversionJob and you’re up and running.
This article demonstrated how to convert an entire library of documents to PDF’s with a single click.
Awesome. Enjoy!


Recent comments