
The Azure CLI is a great way to manage your Azure Resources. I find it convenient, especially during PoC and development efforts, to wire this up to Visual Studio Code.
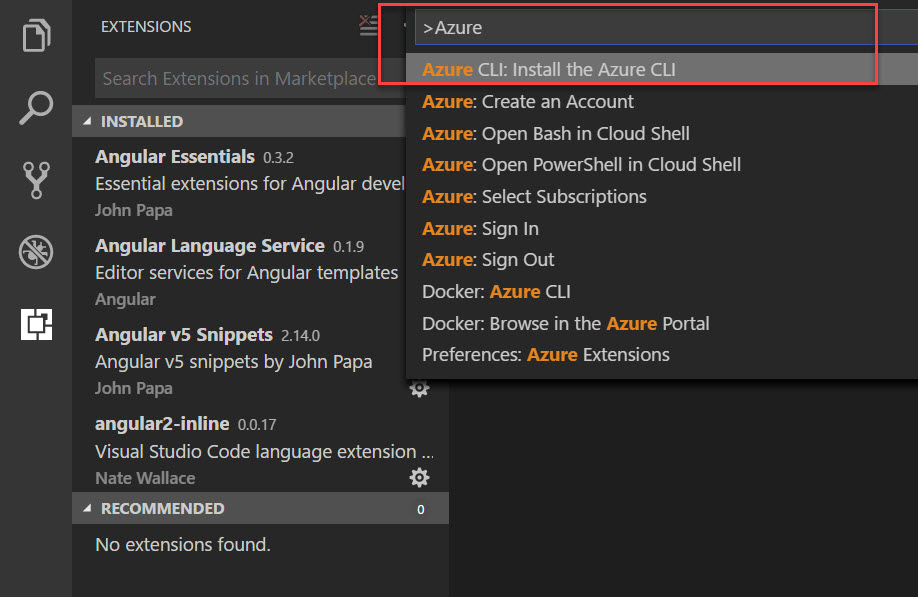
1. Install the Azure CLI Tools extension in Visual Studio Code

If you don’t already have the Azure CLI installed, you can open the link to the landing page directly from VS Code (or use the link above):
Choose your platform and install.
2. Start working with the Azure CLI Tools extension in Visual Studio Code
Once this extension is installed, it’s pretty straightforward to get started. I have a lot of files, configurations, and common commands that I run on a daily basis with my production and dev tenants; With the support of VS Code and the integrated CLI it’s easier to ensure correctness in these commands.
An example: Define an .azcli file
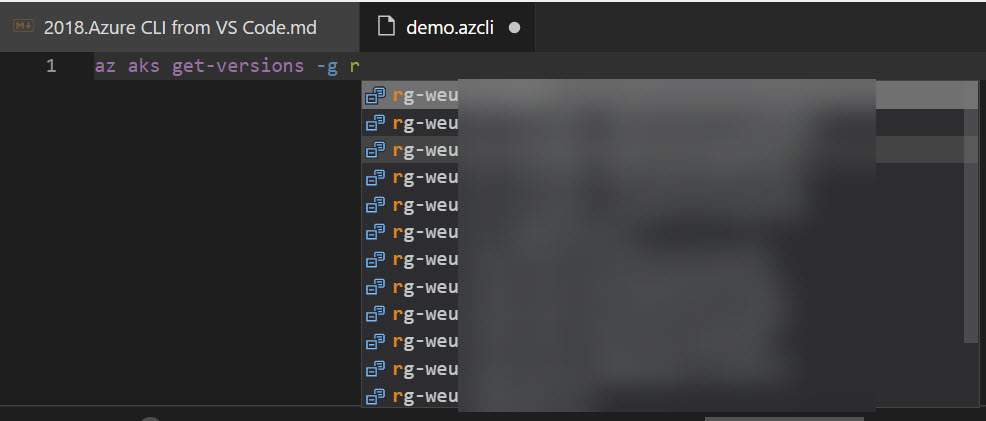
The VS Code extension supports the .azcli extension, and if you open a file with this extension, you’ll get all the juice and goodness. Here’s an example.
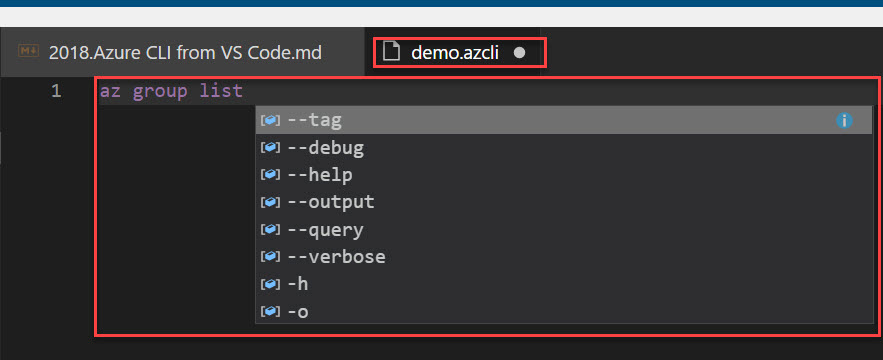
Now we’ve got IntelliSense directly from the editor. Neat.
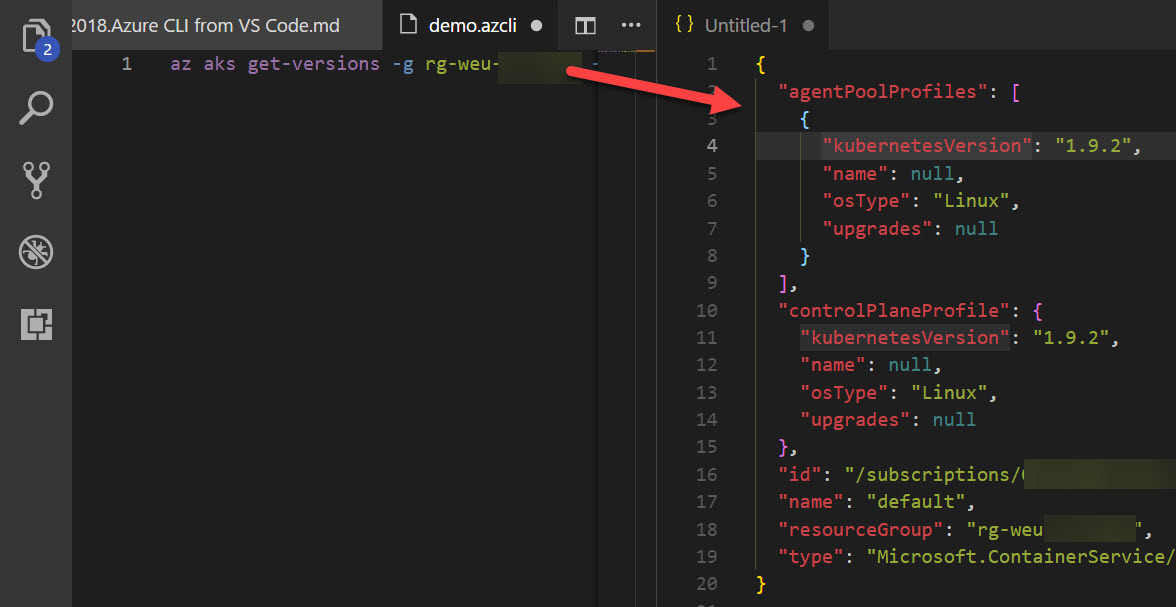
It’s not only IntelliSense for the commands, but it’s also IntelliSense for your actual resources in Azure, too - it’ll look it up for you while you’re typing, so if you’re trying to execute the get-version command for an AKS cluster, as an example, you don’t have to by-heart know the full resource group name and cluster name.
Now, you can choose to run your command in the Terminal or in the Editor. I usually execute it in the Terminal (see the shortcut commands for each in the picture below), but sometimes when I need to grab the JSON result, it is very convenient to run it in the Editor.

Run an Azure CLI command in Terminal
In order to get the output directly in the Terminal, all you’ll have to do is to execute the “Run Line in Terminal” command; Either by using shortcuts or from the menus. Whatever floats your boat.
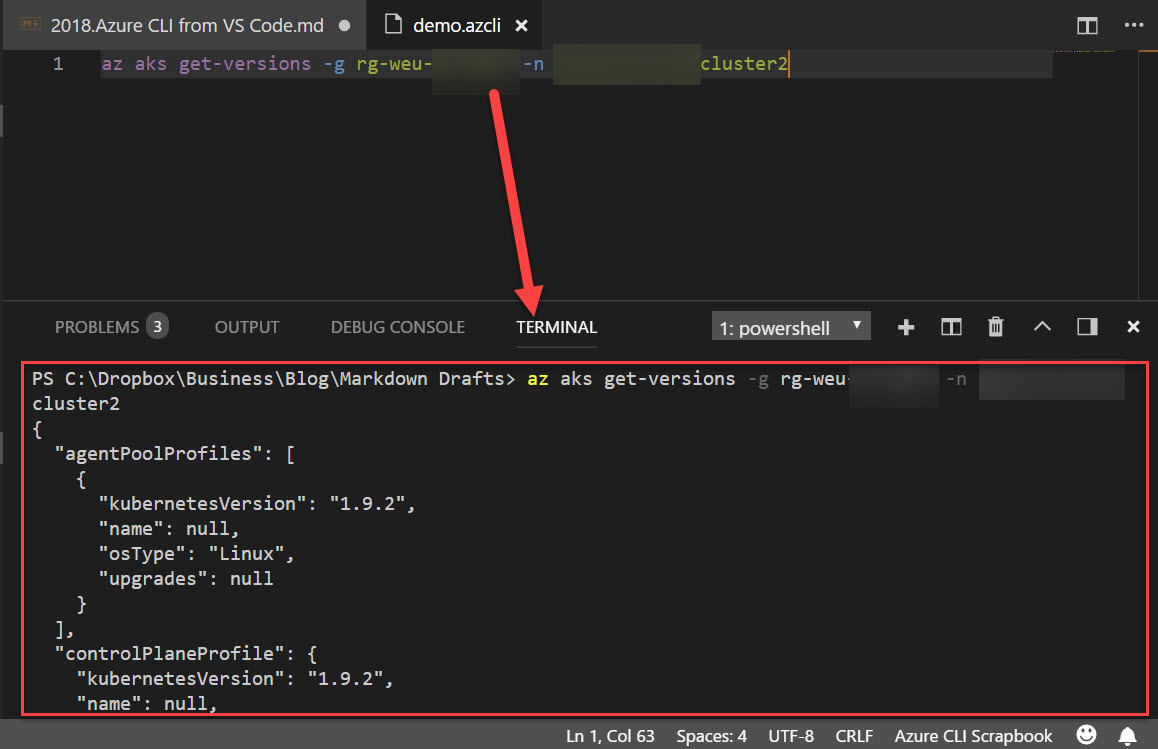
Great, quick, and easy - superb for troubleshooting and I use this a lot.
Run an Azure CLI command in Editor
When I need to quickly grab the JSON result of my query and use it in any documentation, additional configuration files, or REST queries, running the query in the Editor is a great option.
Choose the other run option to run in Editor, and you’ll get a side-by-side Editor with first the command being executed, and after a few short moments you’ll see the result:

Documentation on mouse-over
You can mouse-over any element in the file and it’ll display the up-to-date documentation about this command:

I hope you’ll find it as beneficial as I am when working with the CLI on a daily basis.
Enjoy your CLI and VS Code experience!
Comments are closed
Archived comments
How to add variables and use them in cli
Hey, @disqus_6yBl3lyxZi:disqus
Can you please elaborate on the question a bit further?
Thanks,
Tobias
Since the question author is still silent, I'd like to ask I think the same question). I'm trying to find a way to develop and debug Azure CLI scripts, that I could use in Azure DevOps pipelines. So I installed the extension and able to run commands but not the script. Also can't figure out how to run this sort of command in VS Code (or in Powershell ISE for that matter):
var=$(az cosmosdb keys list --name some-docs --resource-group some-resource-group --subscription some-subscription --type keys)It throws CommandNotFoundException, while the same line of code works in DevOps (Azure CLI task, inline script). Meanwhile I need to do something with the variable value, like put the keys to some Key vault etc.
Thank you!
Hey,
When building scripts, I would argue that using
.ps1files are easier, as you get the full functionality of the PowerShell script language this way.I use the
.azclifiles when I'm exploring and figuring out what commands I need, and what results I need to grab from them. However, all my production-grade scripts are in PowerShell, from where I'm invoking the CLI.It can also differ depending on whether the script is running on a Windows or other machine. Some DevOps agents are Linux, others are Windows, for example - with that, there's also differences in how they handle paths, and other things to look out for - so the variables of the environment might also make a difference.
As for taking the output from one command as input for another, here's an example I've got with Key Vault. I'm pulling a secret out of one vault, and immediately saving it into another vault. The idea would be the same for your case.
az keyvault secret set --name $secretName --vault-name $destinationVault -o none --value(az keyvault secret show --name $secretName --vault-name $originVault -o json --query "value")
See the full script of that in this post: https://zimmergren.net/back...
Hi! Got your point, thank you a lot for the answer
My pleasure. Hope you get it all running successfully 🚀
I'll try this a different way... Does the extension have a preference for powershell or bash scripting?
What I can see is that the extension just runs the selected line in the terminal. Not running the full script that you would make in the file. If it is bash or PowerShell will depend on what your terminal is currently configured for.
The same goes for the variables. You'll have to put them in the format your terminal is in. But since it is line by line, you'll also have to individually run them to reuse them.