In this post I will discuss how to create a .NET Core application (ASP.NET 5) and build a Docker image that contains our application, and then deploy that to a cloud service of our choice. In my case the cloud services are Azure and Heroku. This post will cover how to create the project, create your docker images and run them on your development box through Docker. In the next two posts I will walk through the steps for deploying the containers to Azure and Heroku.
I will be using Visual Studio Code as I do more and more.
Pre-requisites
In order to follow along with all the steps in this post, there’s a few things we need to set up first:
- Install Docker on your dev box
- Install Kitematic on your dev box
- Install .NET Core SDK on your dev box
- Install Yeoman, the ASP.NET Yeoman Generator and the Docker Yeoman Generator
- Install valuable extensions to VS Code (if that’s your editor)
See the following sections on how to complete these steps one by one.
1. Install docker on your dev machine
In order for us to work with Docker on our dev box, we need to install it. Docker is available for download from their website: https://docs.docker.com/desktop/wasm/.
Download, install and you’re all set!
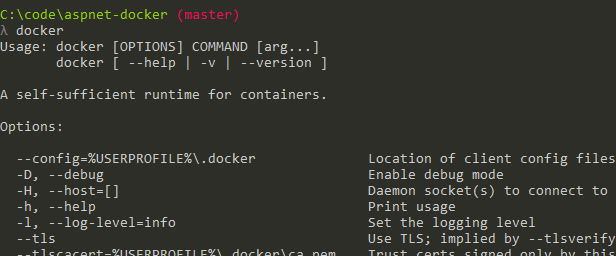
You should be able to run docker in your favorite cmdline tool on Windows.
2. Install Kitematic
Kitematic is a way to get a nice UI for your containers on your dev box. I’m on Windows, so I’m going to install the Kitematic version for Windows. It is also available for Mac OS X 10.8+.
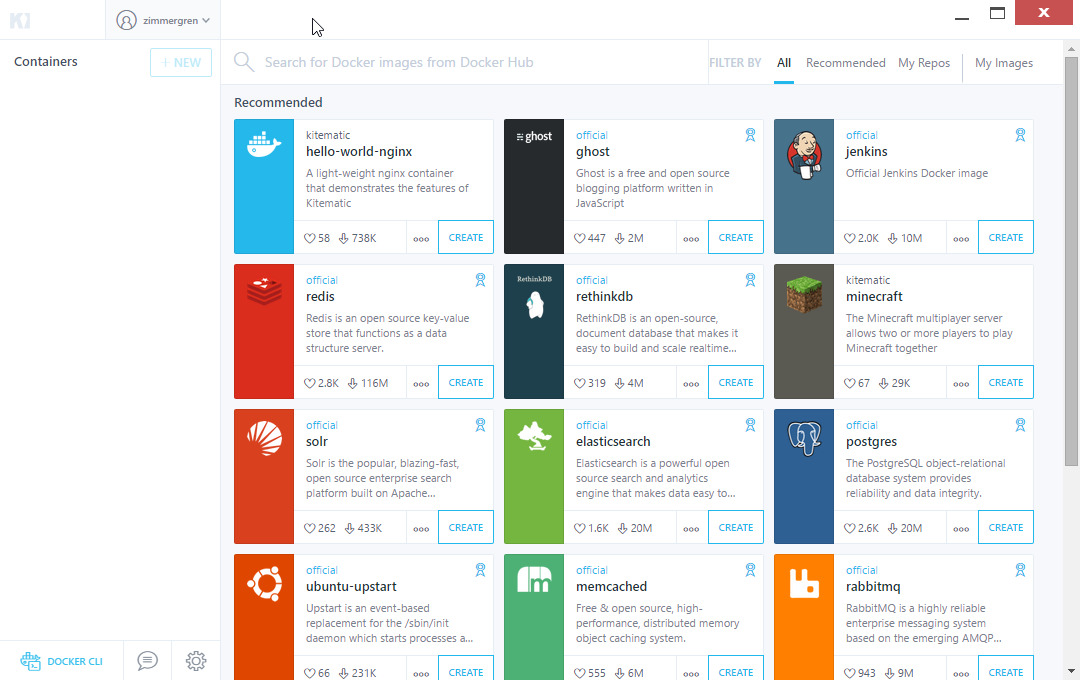
If you haven’t worked with Kitematic before, there’s some pretty good documentation on the Docker site: docs.docker.com/kitematic/userguide.
3. Get the .NET Core SDK
Since we’re going to work a bit with some of the features in the .NET Core, we should install the .NET Core SDK which you can download here.
4. Install the required npm packages
Run each of these commands to install the npm pre-requisites, or run them as a single command. Your choice. I’m splitting them up for easier description here.
Install yeoman:
npm install -g yo
Install the ASP.NET Core generator:
npm install -g generator-aspnet
Install the Docker geneator:
npm install -g generator-docker
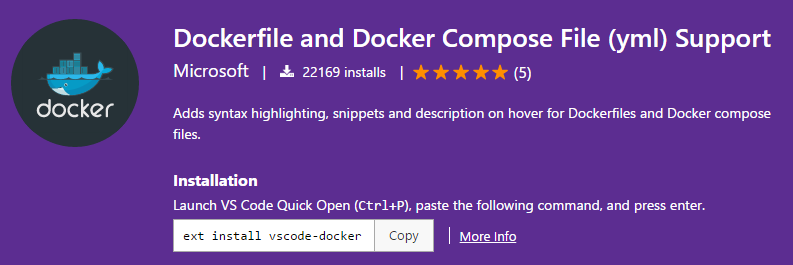
5. Install valuable extensions to Visual Studio Code
There’s a few very handy extensions for Visual Studio Code that I’d encourage you to download.
The first one is Dockerfile and Docker Compose File (yml) Support
The second one is C# by Microsoft:

Build ASP.NET 5 project and prepare for Docker
We will now build the ASP.NET 5 project (using Yeoman) and prepare it for use with Docker, using the Docker yeoman generator. Tag along.
Generate ASP.NET Core application
First we’ll create a new web application based on DotNetCore. This is why we installed the Yeoman generator for aspnet.
Navigate to a folder where you want to generate your project, and then tag along.
Run:
yo aspnet
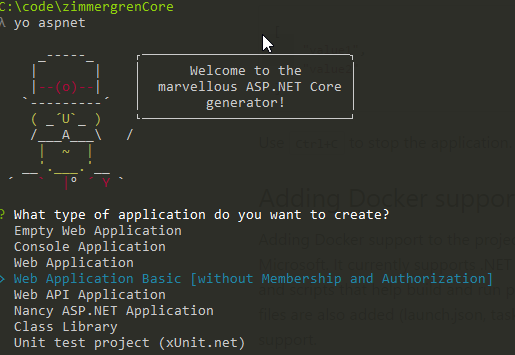
I’ve used most of the default values in the application. Choose what makes you feel great, then just finish the wizard.
Run:
cd "Your application folder name"
dotnet restore
dotnet build
dotnet run
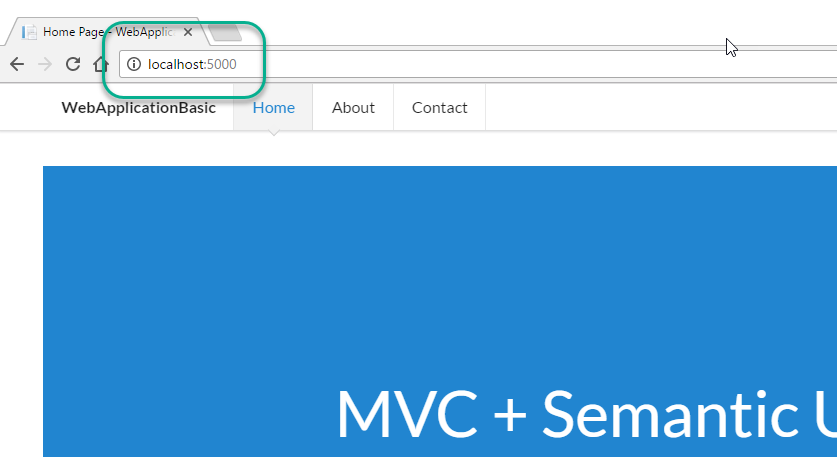
This should download the dependencies and packages, build the project and host it locally:
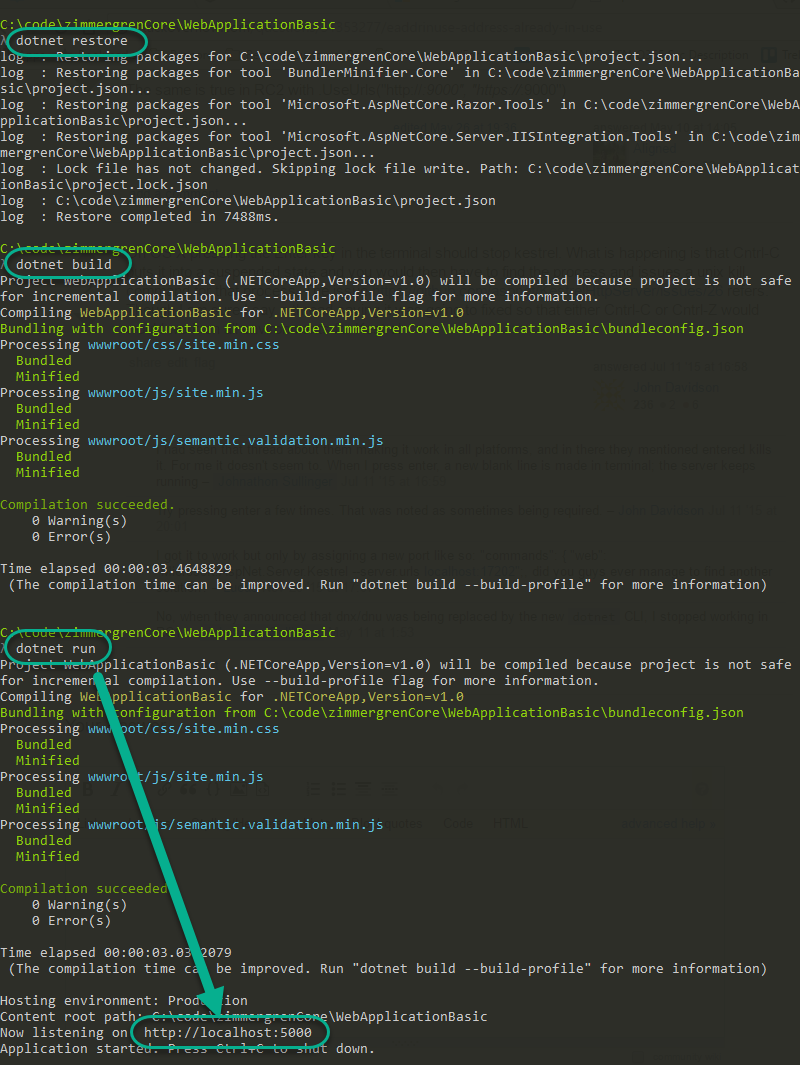
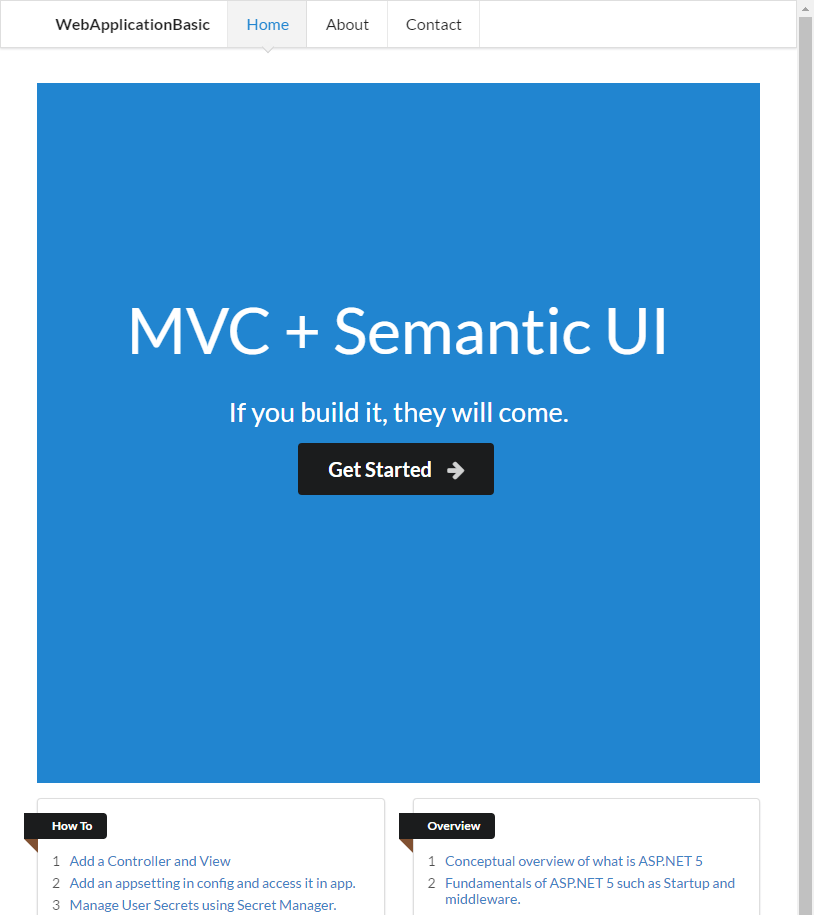
You can now navigate to http://localhost:5000 to view your web application:
So that’s that. As I’ve talked about in this blog plenty of times before, generating these projects is super-simple. Since I want to focus on Docker rather than the web app itself, I’ll leave it as-is without modifications. Let’s move on to the Docker parts.
Generate Docker config for your project
Now that the project is there, we want to prepare it for running in a Docker image. Using the Docker generator I mentioned previously, makes this very simple. Tag along, again.
Prepare the docker files
Run:
yo docker
This will trigger the yeoman generator for Docker. Here’s the values I have entered myself. I’ve selected .NET Core, RTM, Yes (Use a web server), 5000 (port), default names for the remaining questions and finally “Yes” to overriding the dockerfile, if you get that question.
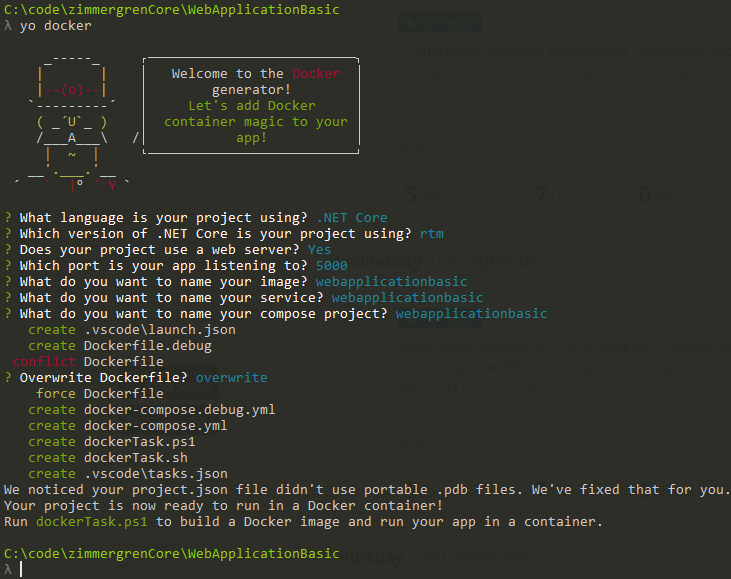
After running the docker generator, your project will contain a few new important files:
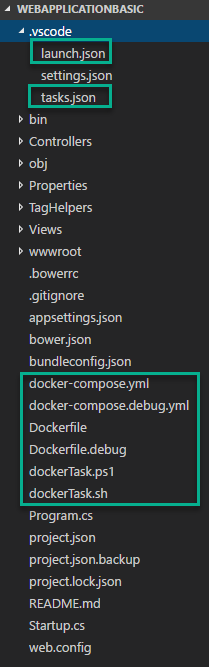
Run the docker build script
With the new files comes one file named dockerTask.ps1, which is the one I’m interested in.
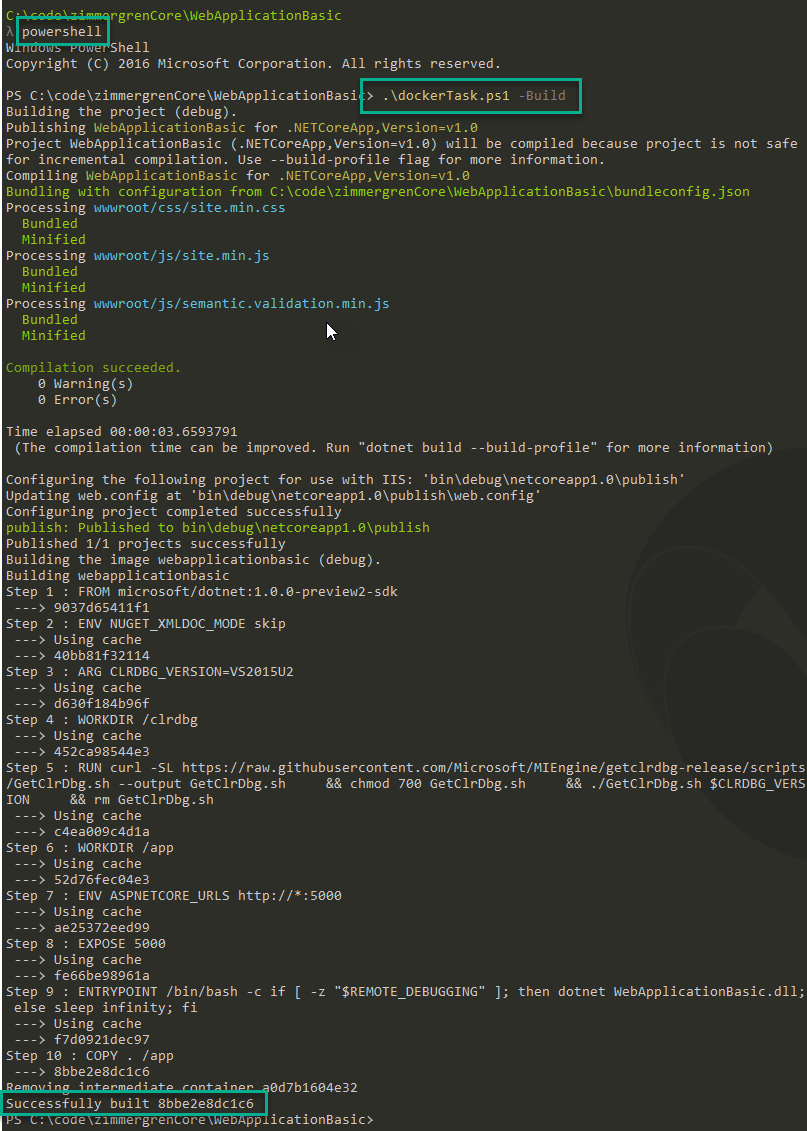
Launch a PowerShell console, and execute the following script (yes, from the same project dir):
.\dockerTask.ps1 -Build
That will look something like this:
Verify that the image exist
Now that the PowerShell script has taken care of building the image, as we saw previously in the picture above, we should verify that it works.
Run:
docker images
It should give you something like this:

Running the new Docker image with our ASP.NET Core project
It’s getting exciting, isn’t it? Of course it is. We’re just about to run the image on our localhost to make sure the docker image works. And it should, given we’ve not changed anything from the default generated content using the yeoman generators etc.
Run:
docker run -d -p 5000:5000 -t webapplicationbasic:debug
In the above command, the -d means we’ll run detached so we don’t need to keep the cmd busy. The -p 5000:5000 means we’ll map the host port of 5000 to the image port of 5000. The -t webapplicationbasic:debug means we want to launch the webapplicationbasic (name of our image) with the debug build/tag. The values for these can be seen in the previous picture when you ran docker images.

Verify that the Docker image is running
We want to verify that the image is spinning in docker now:
Run:
docker ps

Awesomesause! The image is running in docker, and listening to port 5000.
Browse to your application inside the Docker image container
Simply launch http://localhost:5000 and you should see your website, now running inside docker!
Launch Kitematic to verify and get a nice overview of your Docker images
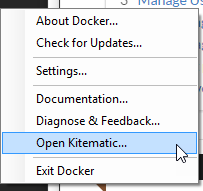
While I love living on the command line for many reasons, there’s also the Kitematic tool which is actually a pretty smooth way to overlook your local containers, and which can see and manage your stuff in the Docker Hub.
Launch it by clicking the Docker tray icon (on Windows..) and select Kitematic:
You can now see your local containers:
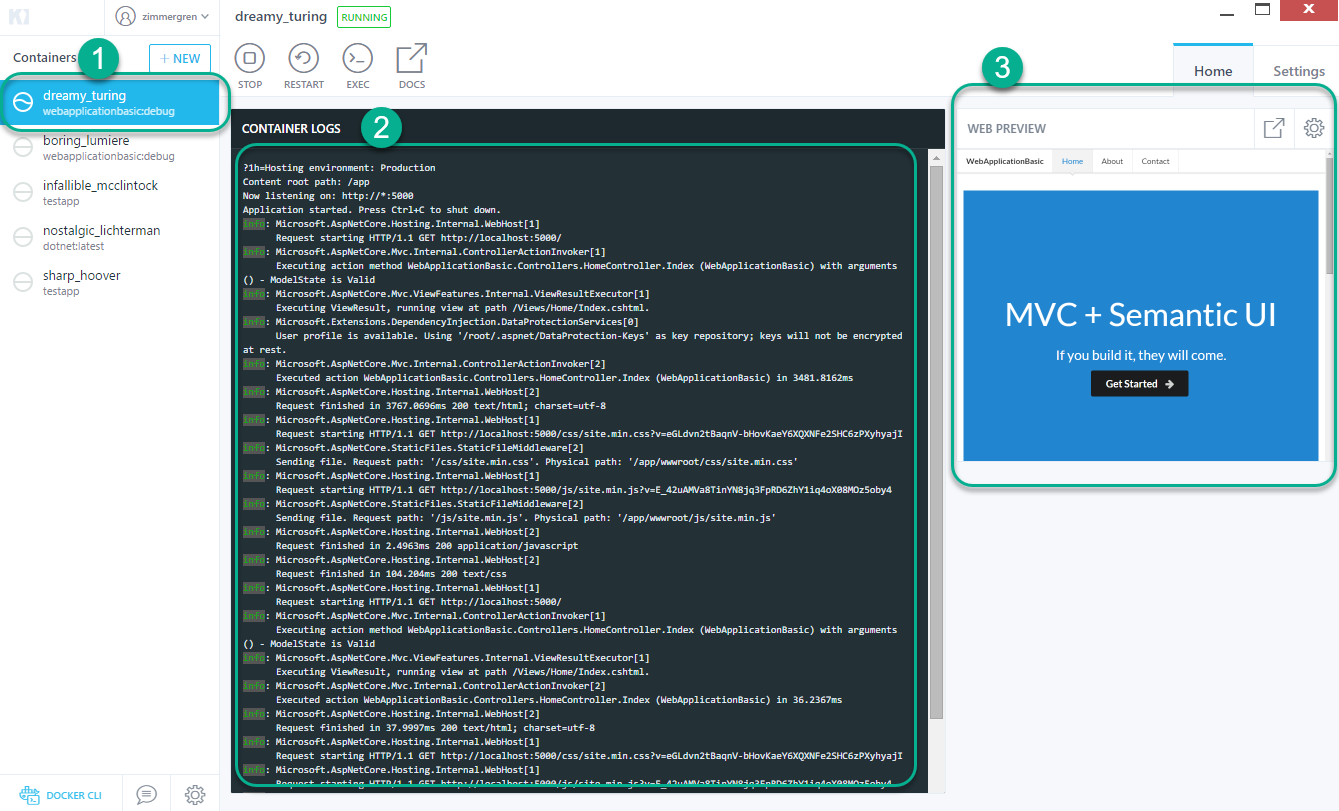
You can see that:
- Is your running container
- Are the logs of the requests (which happens when you visit http://localhost:5000 in my case)
- Is the preview of the running container image
Summary
We’ve taken a look at how we can use .NET Core and Docker together, hosting our web application (or .NET Core console app or DLL etc..) in the docker container image.
Next steps are of course that we would love to host this somewhere. I’d recommend taking a look at Azure, or why not Heroku and their docker support. There’s plenty of options - we’ll cover them in future posts.
Thanks for tuning in. Leave comments below if you want :-)

Comments are closed
Archived comments
tobias! thank you very much for this post. followed it and it works perfectly. i made some changes to how i did it but in general work very well. thanks for saving the day!!! beer from me on the next time we meet.
Hi James,
I'm glad you liked it, thanks for the feedback. I appreciate it :-)
Cheers,
Tobias.
in my dockerfile I need a CMD to deploy it to Heroku.
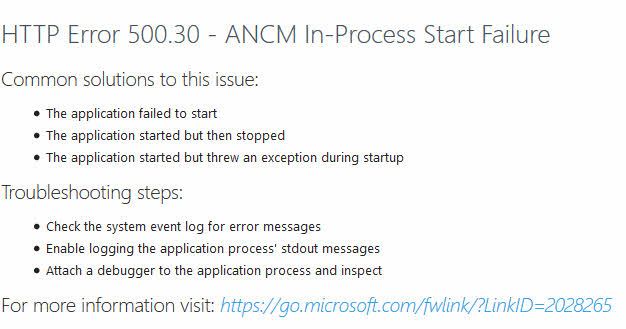
Eg when I deploy it I get this error which refers to the lack of a CMD instruction in the dockerfile. I'm unsure what this command is or how to formulate it?
unsupported: Your Docker image must specify a `CMD` instruction.
! Error: docker push exited with 1
Hey Roland,
Sorry for the late reply - comments haven't been notifying for me recently; But now I've seen it :)
Check this out: https://docs.docker.com/eng...
The CMD is essentially the default entrypoint for the application.
For example, in one of my ASP.NET Core API's, this is how I point to the entrypoint (what should be run inside the container):
CMD ["dotnet", "Zimmergren.Containers.MyAmazingAPI.dll"]
awesome article. instead of using the aspnet yeoman generator, i'm using the aspnetcore-spa generator. anything i'd need to do to support webpack in a docker image?
Hey John,
Glad you liked it, I appreciate it :-)
As for webpack, I haven't yet built a container with webpack on asp.net core; but I did find this, if it can be helpful: http://stackoverflow.com/qu...
Let me know if it works out or not :)
Found a good example from Xavier Hahn, here: http://gimly.github.io/azur...
Ran into a few challenges with the latest .net core changes to move away from project.json to MSBuild, but definitely some overlap in both of your articles
Awesome. Yeah I've been seeing the MSBuild trend coming through in more and more places again. Good link tip!
This is awesome!!! I just read through it and can't wait to implement the example. Thank you!!!
Thanks, appreciate that. It's a bit dated now, just mind the versions and it should be fine :-)
Hi Tobias - Will you be updating to the latest anytime soon? :)
Thanks
Hey Chet, thanks for the comment. Good idea, if I can find time I will definitely do it in a new post and reach out here in the thread.
Tobias.
Hello,
when i get to the "yo docker" part and go through all the setup steps it then stops complaining that project.json doesn't exist. It looks like .net core doesn't use that file any more and went back to a .csproj setup.
How can i still continue this tutorial? Any suggestions?
hey @disqus_dpIvILUNs5:disqus ,
Thanks for the comment - you are right ,they have recently moved back to csproj files rather than the project.json format, and with the latest tooling the .net core framework is 1.1 rather than 1.0 which this post was based on. I will look into updating this post with the latest approach, to make sure it's covered. Thanks!
Tobi.
Hi Tobias - Do you know when you can update the above to the latest .NET Core? I like your tutorial very much. Thank you.