I’ve been an avid user of Ghost Pro for years. I absolutely love the service, support and simplicity. It comes with great themes and extensibility, too, if that’s your thing.
Recently I had some discussions with community peers who are considering new platforms for their blogs. There are many options, and we’ll not address the reasons or arguments for one or the other now - we will focus on setting up a local development environment for Ghost, so you can easily customize your themes and work with your deployment without impacting your production environment.
Install pre-requisites
The one pre-requisite we have for installing the Ghost CLI, is to ensure our Node installation is the latest version. I initially tried to run this with a 6.x version of node. The installation came through, but I couldn’t use the CLI.
Ensure you are on a 12.x+ version of node before you install the Ghost CLI.
For a list of supported node versions for Ghost, read this:
https://ghost.org/faq/node-versions/
I’m downloading the latest from the nodejs website:
Writing this in July 2020, I am using the “LTS” version “node-v12.18.2-x64.msi” download, which is supposed by Ghost. Verify that the installed version of npm and nodejs now matches the supported versions listed in the aforementioned Ghost docs.
> npm -v
6.14.5

> node -v
v12.18.2
Looks like I’m ready to go!
Install the Ghost CLI
I’m on Windows, so the steps here are laid out from my perspective - however, I am sure that the conversion to other platforms wouldn’t be too hard.
First, we need to install the Ghost CLI:
npm install ghost-cli@latest -g
This sets of the installer, and we’re getting the latest Ghost CLI installed:
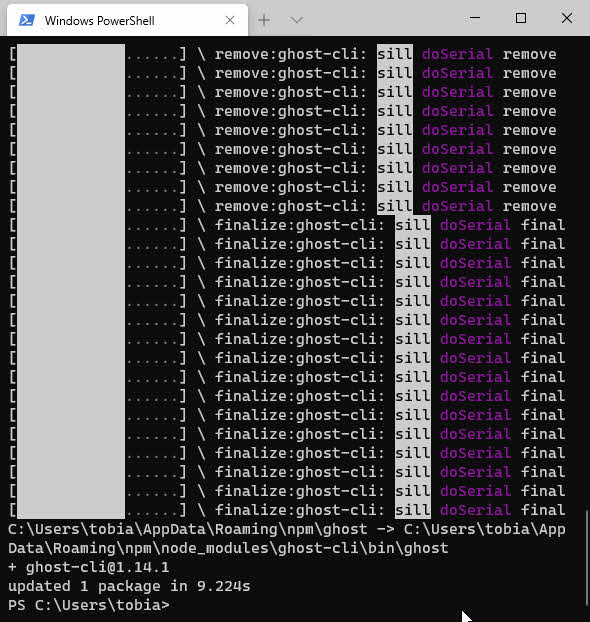
Installing the Ghost CLI using npm.
Next, let’s verify that the Ghost CLI works:
> ghost -v
Ghost-CLI version: 1.14.1
Great, the tool is installed and I’m ready. Now we need to install the local version of Ghost.
Install Ghost locally using the Ghost CLI
In the previous step we installed the CLI. Now we’ll use the CLI to install a local version of Ghost on our machine.
Navigate to a folder on your system where you’re comfortable installing Ghost. For me, that’s C:\code\ghost\, then install ghost using the below command.
md \code\ghost
cd \code\ghost

ghost install local
Ghost will install into the directory, including any dependencies. When the installation is done, you’ll see something like this:
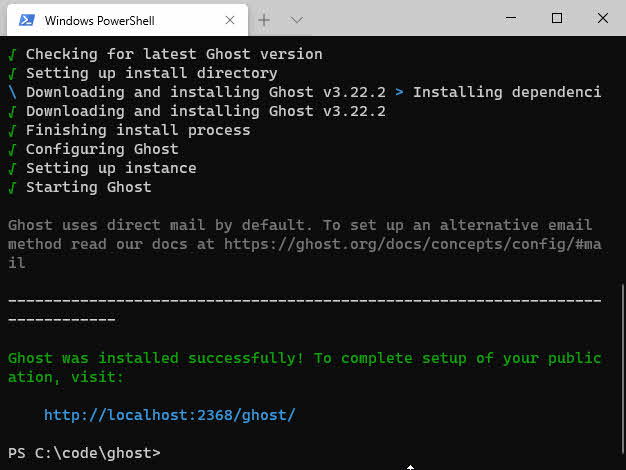
Ghost has been installed locally, using the Ghost CLI.
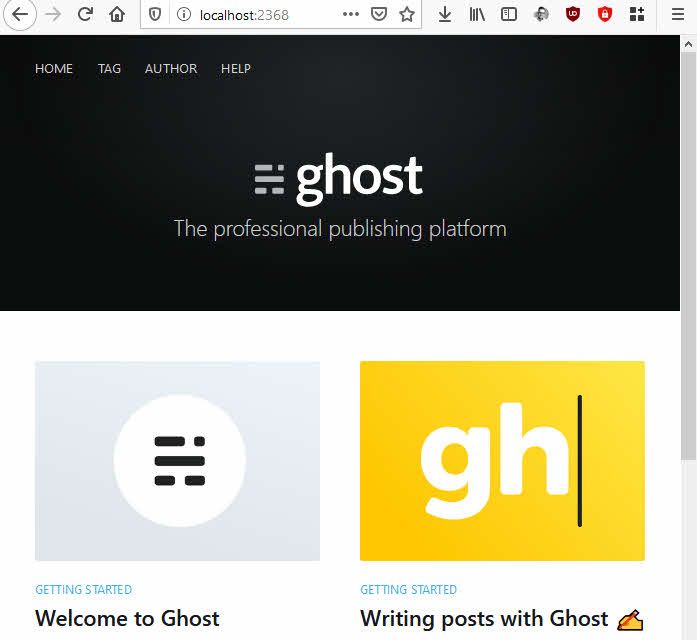
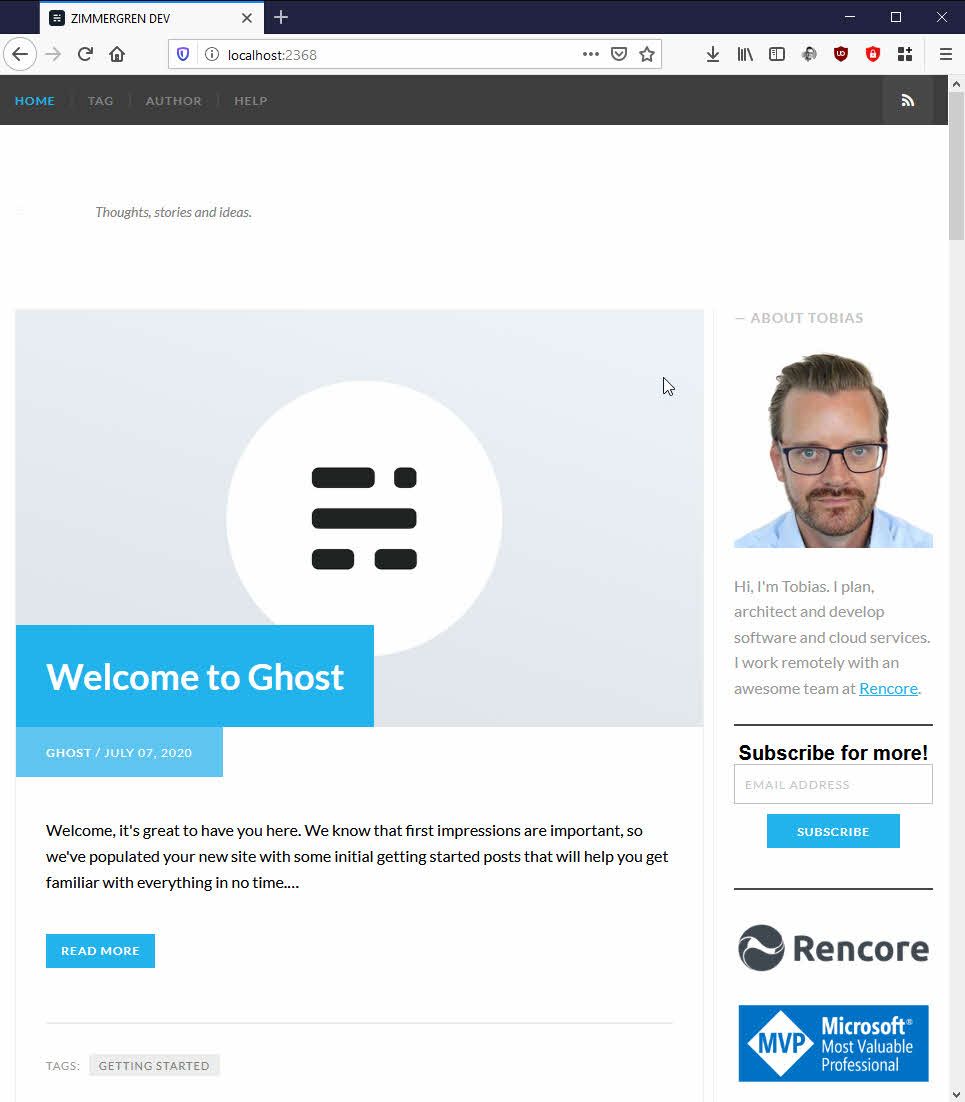
Voila. We can now navigate to the http://localhost:2368 URL to verify that it works.

Ghost is installed locally.
Great, what’s next? How do I modify my themes and do cool things?
Add your custom themes to the local Ghost installation
I already have a theme I’m using in my production environment (my blog), and I’d like to get that copied over to the local development environment, too.
Deploy themes to the \content\themes\ folder. For me, the easiest way out here is to download the theme from my current blog, and put the extracted contents in the C:\code\ghost\content\themes\zimmergren\ folder on my local box:

Contents of the custom Ghost theme extracted into the local installation of Ghost.
When the custom theme is in the folder, I can verify that I can select this theme for my local development environment.
For this to work for me, I had to restart ghost, which the CLI can also easily do:
ghost restart
After a few seconds when it is running again, head over to the Ghost Admin URL:
Follow any instructions about creating a local dev account, if any.
Next, I can go to the “Design” page from the navigation, and see that my custom theme (named bloginn) appears:
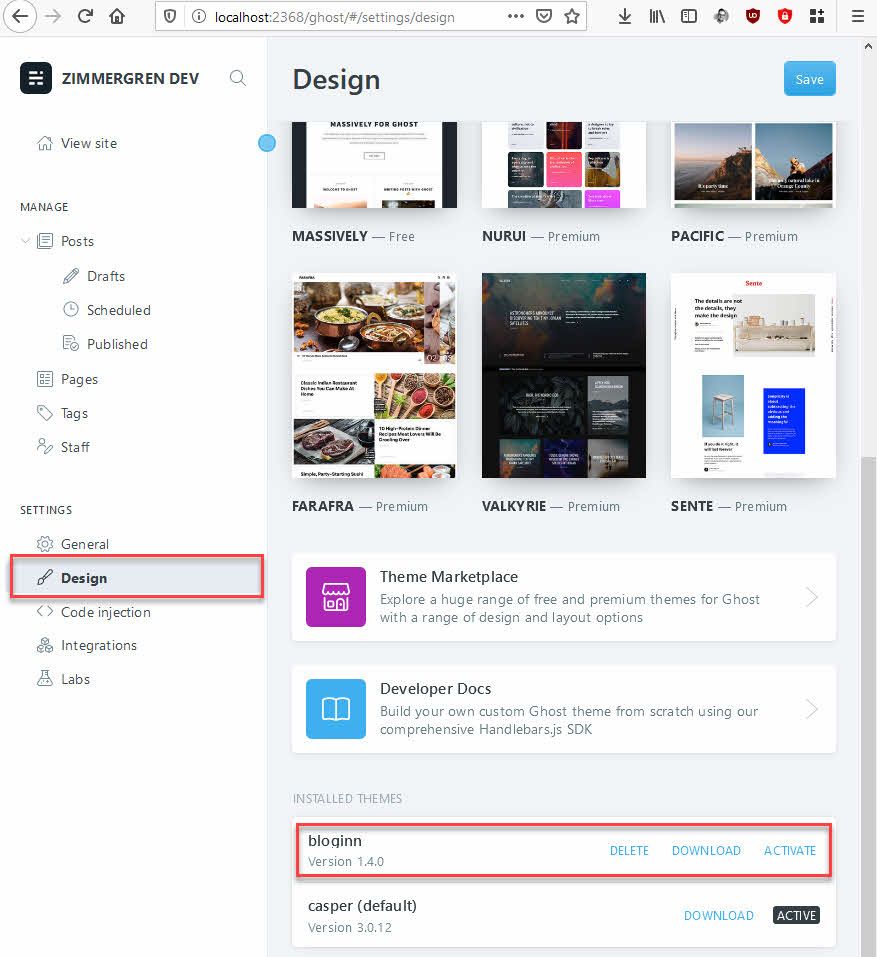
The theme-selector in Ghost now includes our custom theme.
Clicking “Activate” will activate the theme, and the local Ghost installation should look like my real theme:
Custom Ghost theme applied to a local installation of Ghost.
Next steps…
There are several things you can to now to improve the localhost development experience.
- Export contents from your production site(s) and import into your local dev sites.
- Set up a Git repo for the theme, and ensure all changes you make are tracked.
- Copy any custom configurations from the UI (Code Injection, metadata, logos, etc)
- Replicate the navigation structure, if you also import your content.
I don’t spend a lot of time developing my Ghost theme. Frankly, I bought a theme and then I’ve modified a couple of things to suit my needs and preferences - however, when I make changes I can now track them easily, and I can without breaking a sweat make quick iterations on any customizations without impacting my production setup.
A tip of the day. Thanks for tuning in.
Comments are closed