Understanding Azure Policies with Visual Studio Code
I did not know about this extension until recently. It is currently in preview, and it is supposed to simplify authoring of policies by enabling alias property look-up inline with the resource or policy definition. I like the idea of drafting policies in Visual Studio Code, especially now that I can look at my existing policy definitions directly from within the tool.
Let's take that for a spin to see if we check out our Azure policies.
Installing the Azure Policy extension
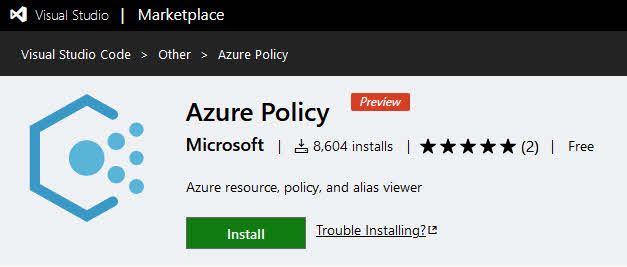
The extension is available on the Visual Studio Code marketplace, and can be found on the following URL:
You can install it the usual way. Search for extensions and enter "Azure Policy":

A noteworthy thing is the dependencies. Head over to the "Dependencies" tab to review any dependencies that will also be installed, before you continue. There's nothing more bloated than a system with automatically installed dependencies we don't want.
In the case of this extension, the dependencies are reliable and clean.
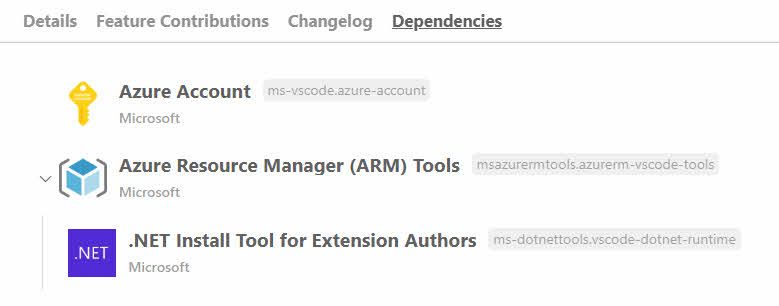
All dependencies are offered by Microsoft, which is also an important aspect you might want to consider when installing extensions.
Using the Azure Policy extension
Now comes the fun part. I hope you like it.
First, if you haven't already, you need to sign in to your Azure account from Visual Studio Code. This can easily be done by running "> Azure: Sign in" from your command:

When you have signed in, you will be able to click your name and select what subscriptions to filter your current account on. I have a few for this specific account, and I'll select only the one I want to target right now.
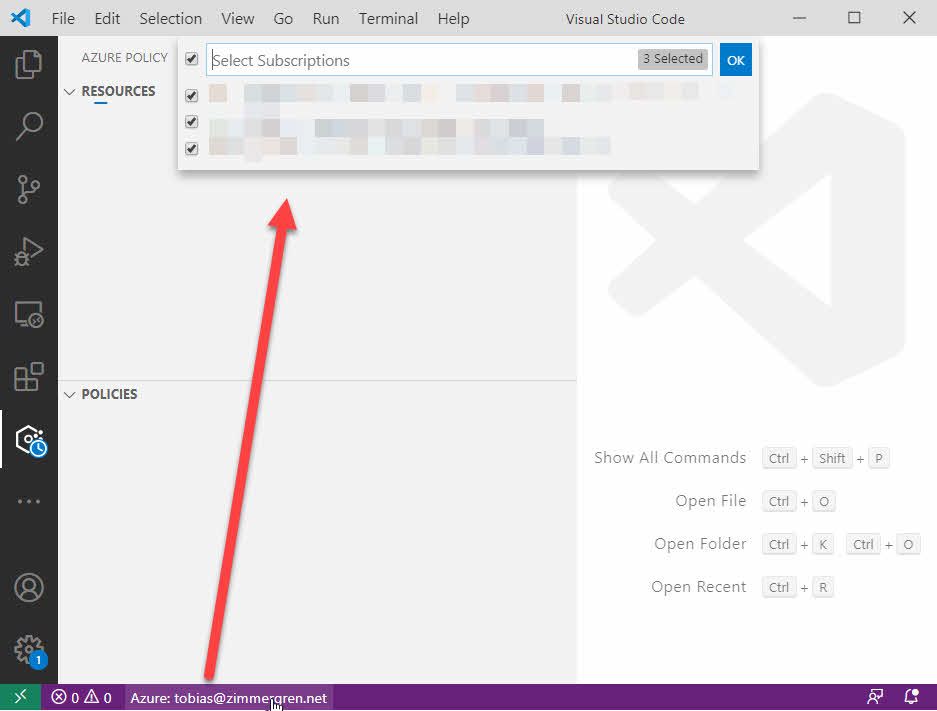
You should start seeing the Azure Policy extension fill up with data. If it doesn't, a restart of Visual Studio Code might help to refresh things.
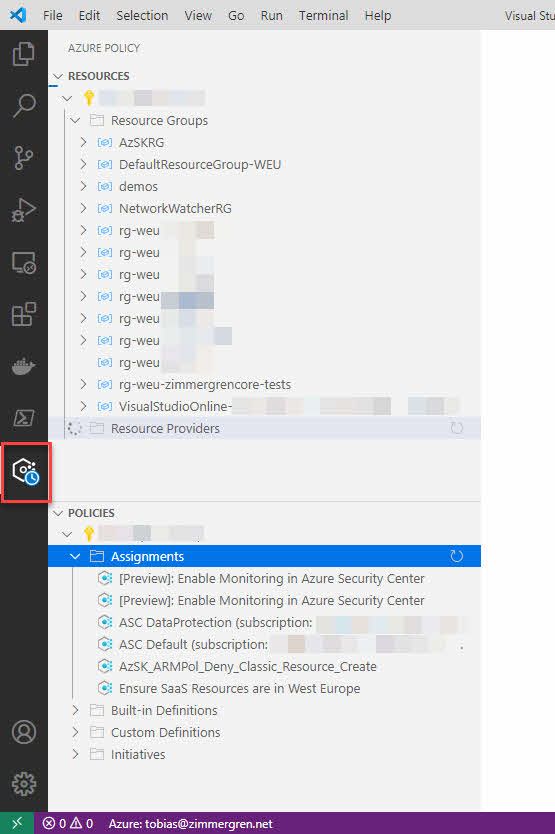
At this point we're golden. We have our subscription, we have our policies and resources, and now we start working.
Tip: Get the JSON
I have used Azure Resource Explorer a lot. You can for example go to resources.azure.com and drill down into your resources and providers. This is an excellent tool. Now, if I can do the same thing from within Visual Studio Code, I think that is more convenient if this is where I need it in the end.
Select any resource group, or resource, or property of a resource. You'll see the full JSON representation of that resource, and if you need anything from here in your Azure Policy, voila. This can come in handy to understand our policies, but also to draft new policies.
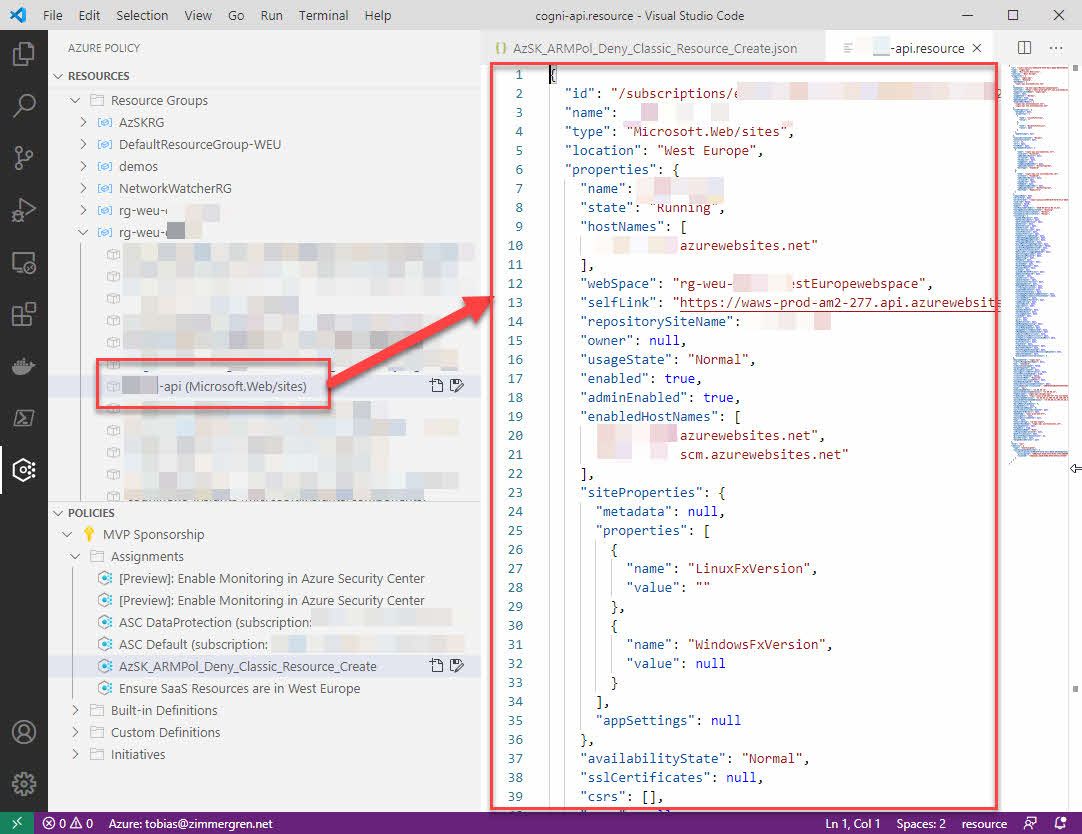
While comparable to the browser-based view I have worked with in the past, it does not go unnoticed to me how amazingly slick this is. After all, I am also using Visual Studio Code to define my policies.
Explore your Azure Policies
In this post we'll not dive into the details of the inner workings of Azure Policies. There are plenty of resources available for that already. This is about the tool, and how it can help understanding our Azure Policies.
Under "Policies" in the left side, you can select any assignment or policy and then click "Save as..." to create a new copy of this item. This is beneficial for my use case, as I'll save it in my code repository where I have the rest of my policies defined - et voila, I can start hacking away.
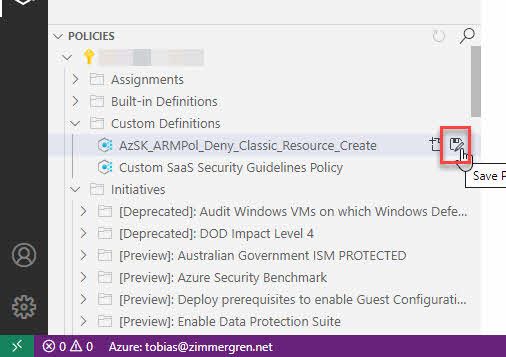
The short tour is over. If you work with Azure Policy one way or another, you might find this extension helpful. I know I have, and I wanted to share my excitement.
Thanks for reading.




Recent comments