Making Windows Terminal look awesome with oh-my-posh
If you really want to improve the Windows Terminal experience, and enhance the visual aids when you're navigating and working with command lines like Git, then this is for you. Easily install and configure oh-my-posh and a custom NerdFont, and you're off to an amazing Windows Terminal journey.
This is another post in the series about fun and helpful Windows Terminal tips and tricks. Here's a list of the posts in this series.
- Enable transparent background in Windows Terminal
- Set images as background in Windows Terminal
- Set the default starting directory in Windows Terminal
- Install custom themes in Windows Terminal
- Using third-party terminals within Windows Terminal
- Making Windows Terminal look awesome with oh-my-posh
What is oh-my-posh?
Oh my Posh is a custom prompt engine for any shell that has the ability to adjust the prompt string with a function or variable.
- https://ohmyposh.dev/docs/
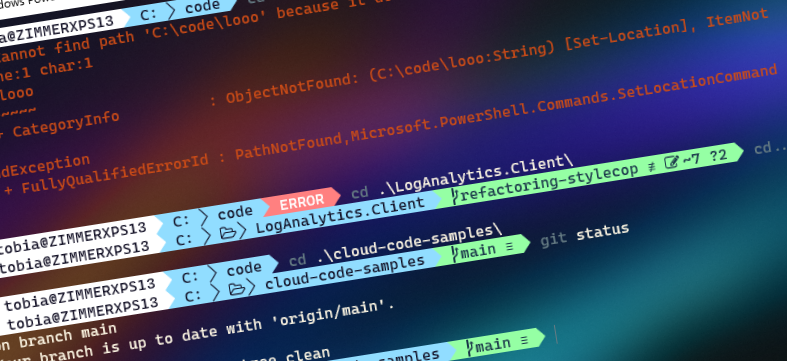
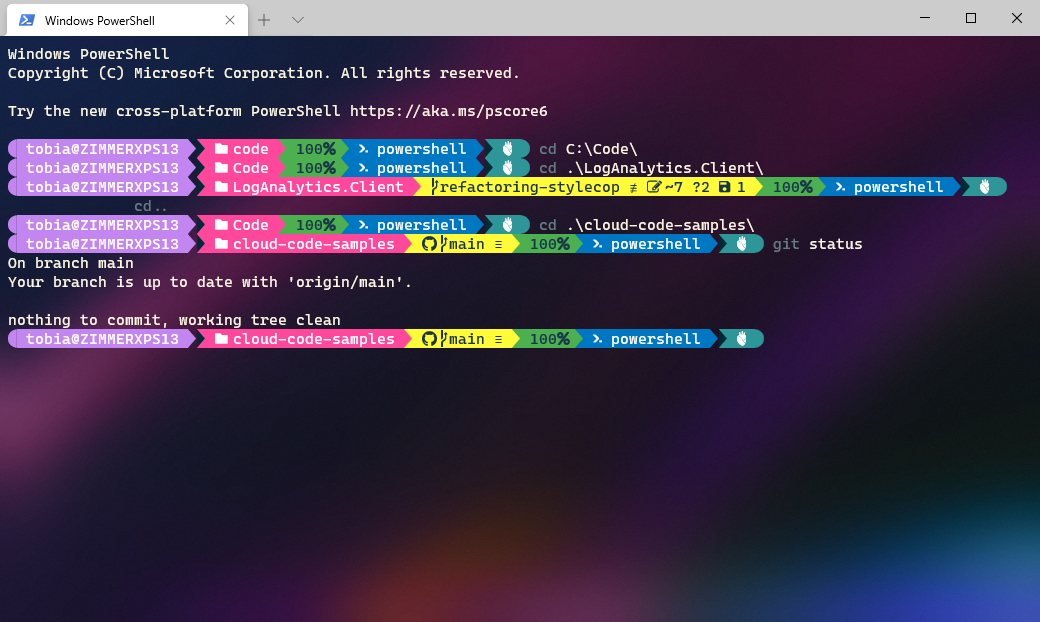
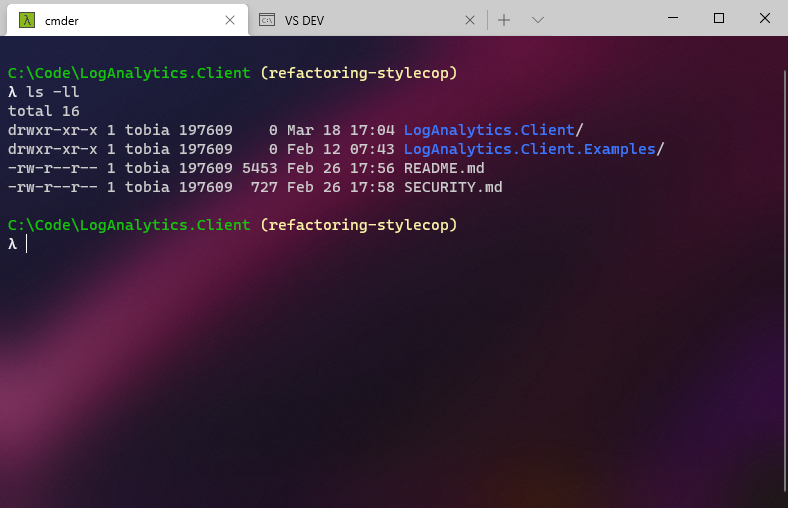
Here's what my Windows Terminal looks like when I have Oh-my-posh installed, along with the posh-git tools that provide the added git-specific metadata in the command prompt. The theme I selected for this is Alien.
Before the configuration, it makes sense to select a theme.
- See the ready-made themes on the ohmyposh.dev website.
Installing oh-my-posh
Following the instructions, here are the things we need to do. I'm using winget to install, which is an awesome package manager for Windows.
Install the oh-my-posh module.
winget install JanDeDobbeleer.OhMyPosh -s winget
For more insights about what options and configurations are available, check out the docs: Installation - Oh My Posh
Make sure you restart your terminal/console to make the changes have effect.
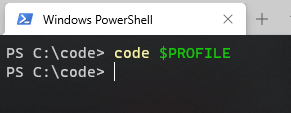
Modify the PowerShell profile
Finally, if you want to standardize your PowerShell shell to always use oh-my-posh, you need to modify your $PROFILE.
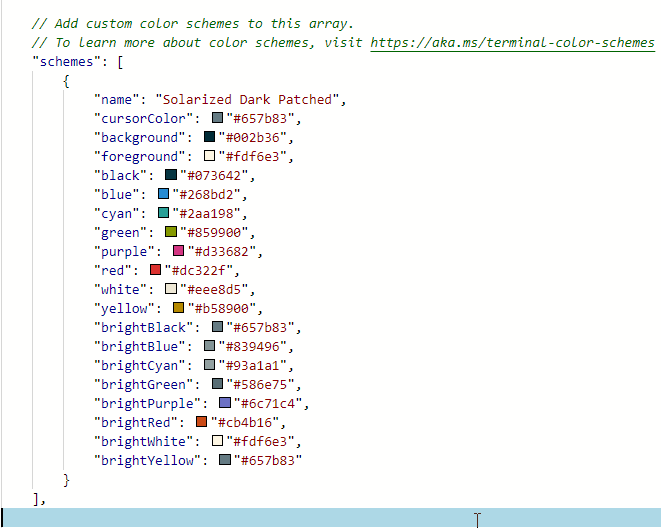
The docs mention you can use Notepad, but I prefer to use Visual Studio Code. The choice is yours. Here's how I'm modifying the file and adding the required module and theme config so they are applied when launching my PowerShell sessions next time.
Add the necessary configurations. Make a note of the Theme name here, which is one of the names of all the downloaded themes.
Import-Module oh-my-posh
Set-PoshPrompt -Theme Aliens
Install fonts with support for the glyphs
Moving on, the final missing piece on a normal machine is to get the Powerlines fonts working. In the docs of oh-my-posh, it's recommended to use NerdFonts.
I like Caskaydia Cove Nerd Font, which has the font name CaskaydiaCove NF when configuring it in the Windows Terminal font settings.
- Download a NerdFont
- Optionally, make use of the Windows Terminal Cascadia Code, which now has support for powerlines, too.
Make a choice, install the fonts you want to work with, and reboot your terminal.
In the picture here, I settled for one of the themes that are easier on the eyes, Agnoster.
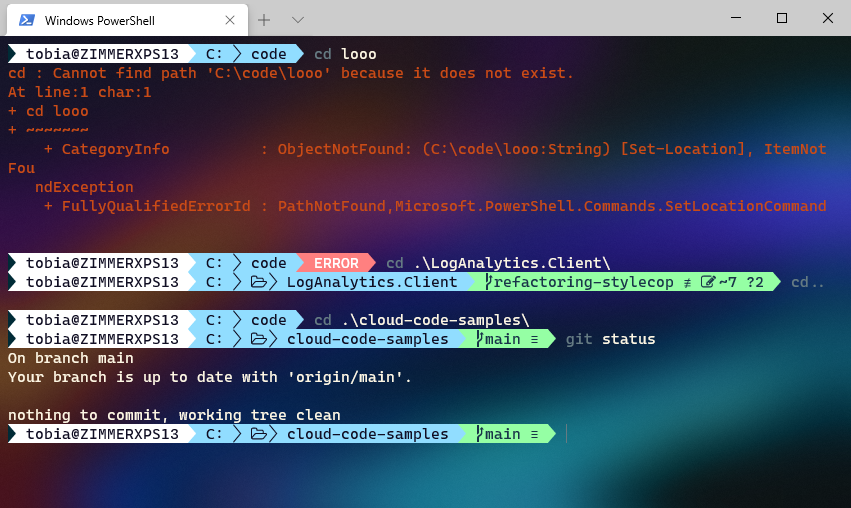
I'm happy with the configuration, and I really like to get the visual indicators in the terminal about my git status, and the overall terminal look and feel resonate well with me.
- Learn more about configuring the transparent backgrounds in Windows Terminal.
Enjoy.


Recent comments