
This is another post in the series about fun and helpful Windows Terminal tips and tricks. Here’s a list of the posts in this series.
- Enable transparent background in Windows Terminal
- Set images as background in Windows Terminal
- Set the default starting directory in Windows Terminal
- Install custom themes in Windows Terminal
- Using third-party terminals within Windows Terminal
- Making Windows Terminal look awesome with oh-my-posh
Configure a background image
From within the Windows Terminal, press ctrl+, (Windows), or simply go to the dropdown-arrow in the navigation bar and select settings.
In this json file, you can customize many things. Today we’re looking at how to configure the background image.
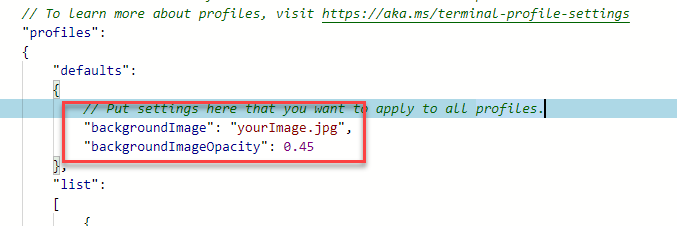
The values we need to insert are:
"profiles":
    {
        "defaults":
        {
            // Put settings here that you want to apply to all profiles.
            "useAcrylic": true,
            "acrylicOpacity": 0.35,
            "backgroundImage": "C:\\Dropbox\\Computer Health\\Wallpapers\\Tech\\cloud.jpg",
            "backgroundImageOpacity": 0.45
        },

        <cropped file....>
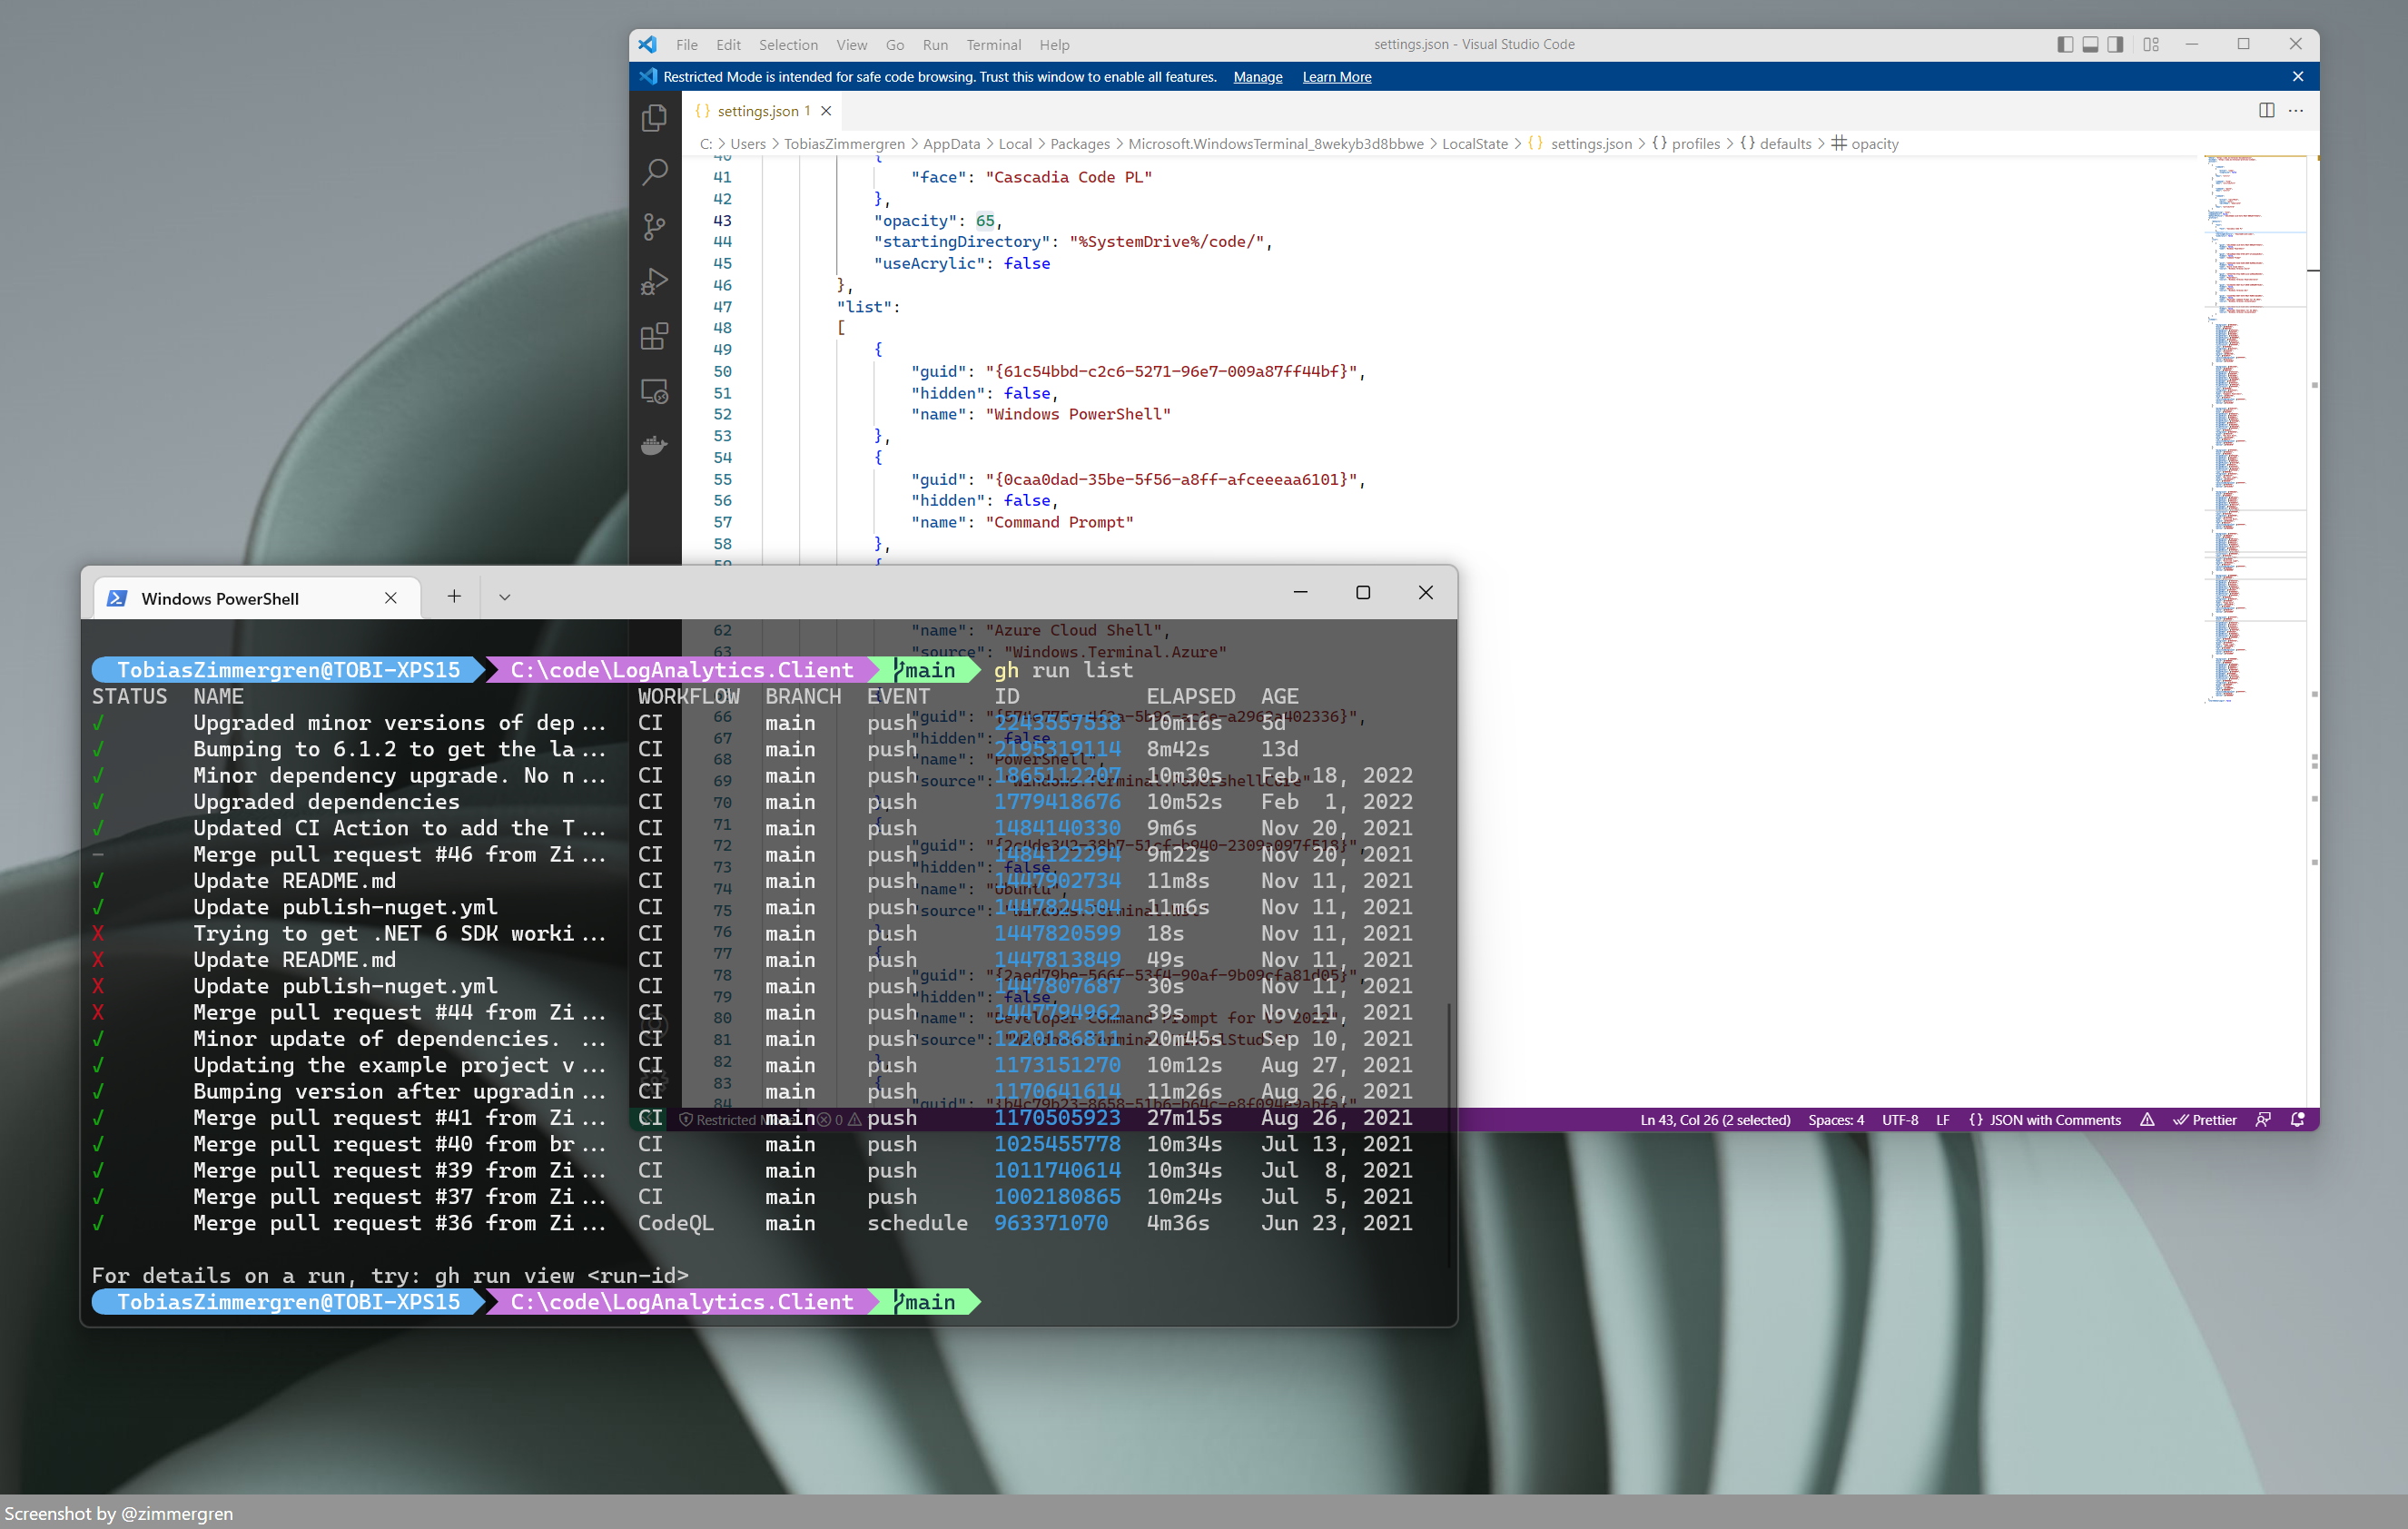
We can insert these either in the default section, or for a specific editor. This way, we can modify the background separately for our different command line terminals.
Define a background image for Windows Terminal for all sessions, regardless of the command line being used.
Additionally, related to background images we can also configure these properties:
backgroundImageStretchMode(fill, none, uniform, or uniformToFill).backgroundImageAlignment(bottom, bottomLeft, bottomRight, center, left, right, top, topLeft, or topRight).
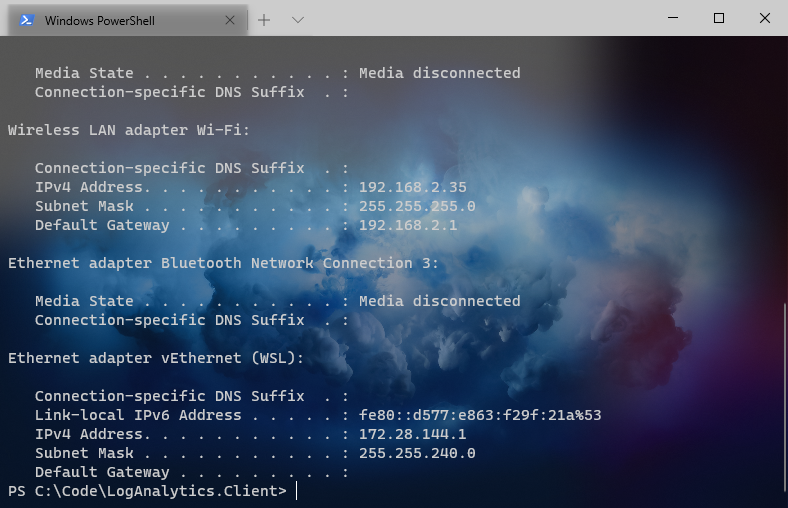
A custom background set for the Windows Terminal.
In the example, I have also enabled acrylic opacity to make the Windows Terminal slightly transparent. It’s nice and easy on my eyes.
- Read more about configuring the transparency here
Enjoy.

Comments are closed