This article is part of a series. Here’s a list of all available parts.
- Part 0: Introduction to the article series
- Part 1: Create an AzureRm Active Directory (AAD) Application using PowerShell
- Part 2: Getting started with the AzureRm PowerShell cmdlets
- Part 3: Build an application using C# which is using the Azure Resource Manager API’s
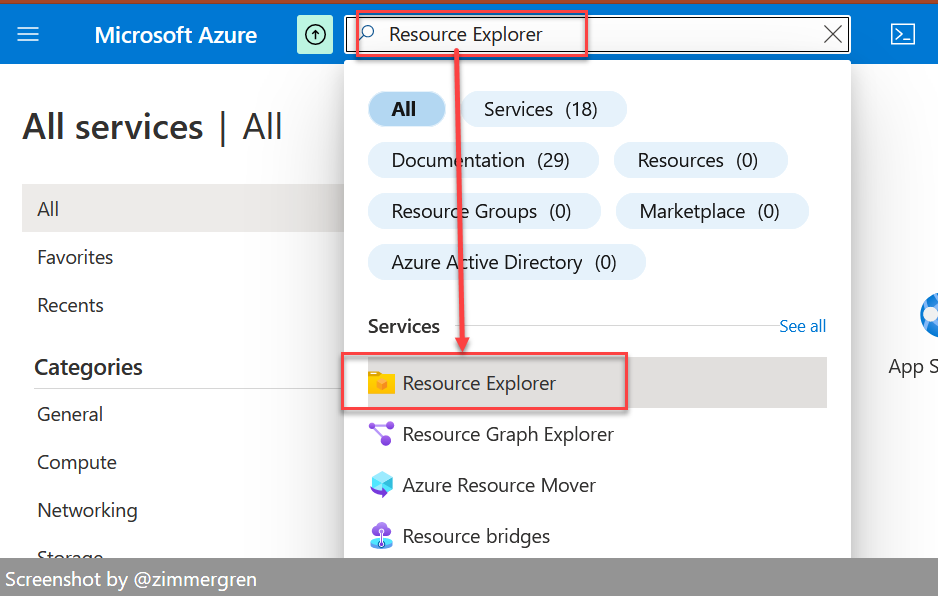
- Part 4: Tip: Azure Resource Explorer Tool
- Part 5: Tip: Get all available api-version alternatives for the ARM endpoints
- Part 6: Move Azure Resources from one Resource Group to another
- Part 7: Download an Azure Publishing Profile (xml) programmatically using REST
- Part 8: Programmatically export Resource Group template using the REST API
Introduction
This is the second part in my series about Azure Resource Manager. In this post we will take a look at some of the AzureRm PowerShell cmdlets to get us started. This article is assuming that you’ve already followed the steps as lined out in Part 1, to set up your AAD Application and Service Principals and saved your credentials etc.
Q: Why use a Service Principal rather than just a user/password from my normal account?
A: If you want automation from CI/a service or you want to have your custom applications authenticate to your AAD and work with Azure Resource Manager, you don’t want to use your own username/password but instead a dedicated service user. This is why we have the Service Principal accounts dedicated for this.
Working with the Azure Resource Manager PowerShell cmdlets
Right, to the point. We’re going to investigate some of the feature set that the ARM PowerShell cmdlets can offer us, and how we can use them.
The reason why I want to highlight this in this post, is partly because it’s a fairly new concept and not a lot of people have been aquainted with it yet - but also because since I started working with the ARM (Azure Resource Manager) the last few weeks, there’s no going back. Things work - and they work well.
Note from the field: I’ve been working with the Azure Resource Manager for a while now, and there’s a lot of changes happening. Some of the things listed here may or may not have changed when you read it. If you encounter any operation that does not work, please leave a comment and I’ll get on it to make an update.
Authenticate your Service Principal in your PowerShell Session
If you’re uncertain about the whole service principal thing, please visit Part 1 in this article series and take a look first to get things set up - then re-visit here.
Authenticate using the Service Principal like this:
Step 1: Get a credential using your Service Principal Id and Password
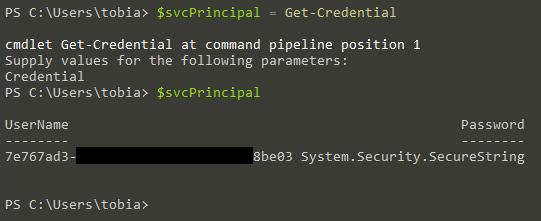
$svcPrincipal = Get-Credential
Then run $svcPrincipal to make sure your object $svcPrincipal is mapped to the credential:
$svcPrincipal
The output should look something like this:
Step 2: Login to AzureRm
Next, simply run the following command. Please note that the TenantId parameter refers to the directory guid of your AAD.
Login-AzureRmAccount -Credential $svcPrincipal -ServicePrincipal -tenantId "[TENANT GUID]"
The output should look something like this:
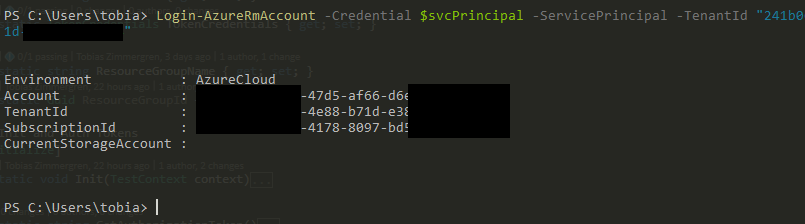
Awesome, you’re successfully authenticated. Good for you - let’s move on.
Run AzureRm cmdlets to get data from Azure
Great. We’re able to get our session authenticated. Now we can easily run any PowerShell command that the AzureRm supports.
Here’s some documentation on using the Cmdlets: https://azure.microsoft.com/en-us/documentation/articles/powershell-azure-resource-manager/
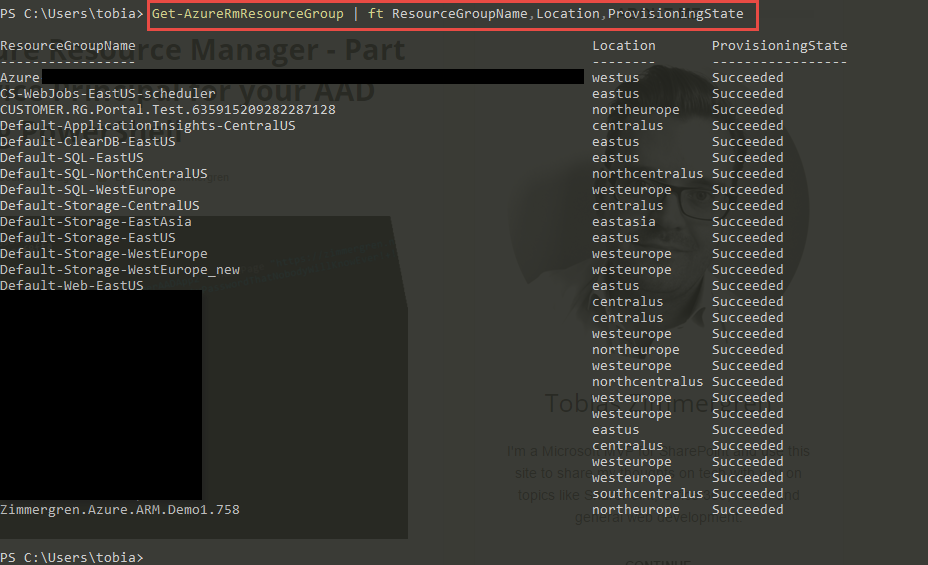
Example: Get all Resource Groups using PowerShell
If you want to simply list all the Resource Groups, run this:
Get-AzureRmResourceGroup | ft ResourceGroupName,Location,ProvisioningState
The output should look similar to this, but with your own Resource Groups from your Azure subscription:
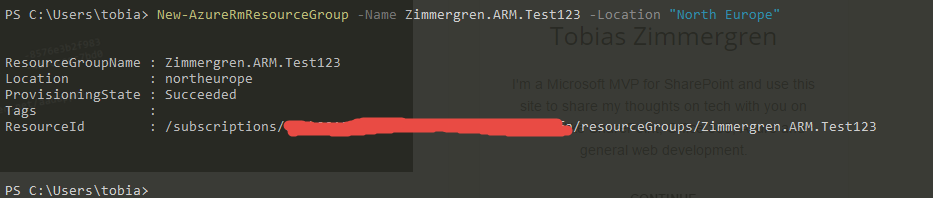
Example: Create a Resource Group using PowerShell
Even more fun is to create an Azure Resource Group. Let’s do that:
New-AzureRmResourceGroup -Name Zimmergren.ARM.Test123 -Location "North Europe"
This should yield a result that looks like this:
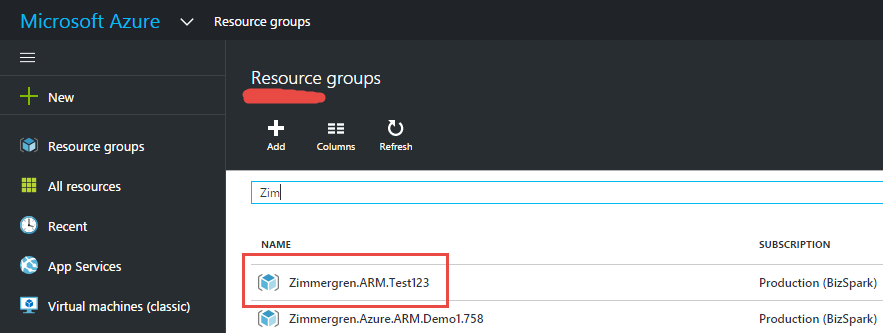
If you navigate to your Azure Portal and list your Resource Groups, you should also see the newly created Resource Group there:
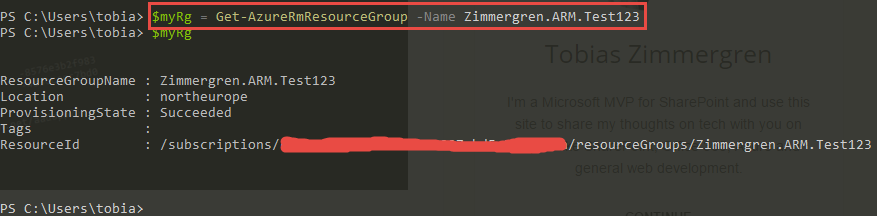
If you’re looking to work with a specific resource group, you can get a specific instance by applying the -Name parameter:
$myRg = Get-AzureRmResourceGroup -Name Zimmergren.ARM.Test123
This would search through the Resource Groups and only return the one that exactly matches what you’ve entered in the -Name parameter:
Summary
As soon as the AAD Application and your Service Principal are set up properly (I would recommend this over using your own account), you can easily manage all your resources from the powershell cmdline.
I could go deeper into detail about specific cmdlets here, but they’re pretty well documented over at the azure documentation website.
As a mental note to myself I want to leave this post here as a reference when there’s a need to configure the auth and run continuous integration using Azure RM.
In some of the following articles we will take a look at Azure Resource Manager Templates and how they work - this means we’ll deploy a resource group including services under that group, all by running just a PowerShell cmdlet, a C# or REST API call to the ARM.
I hope you enjoyed.
Tobias.
Comments are closed